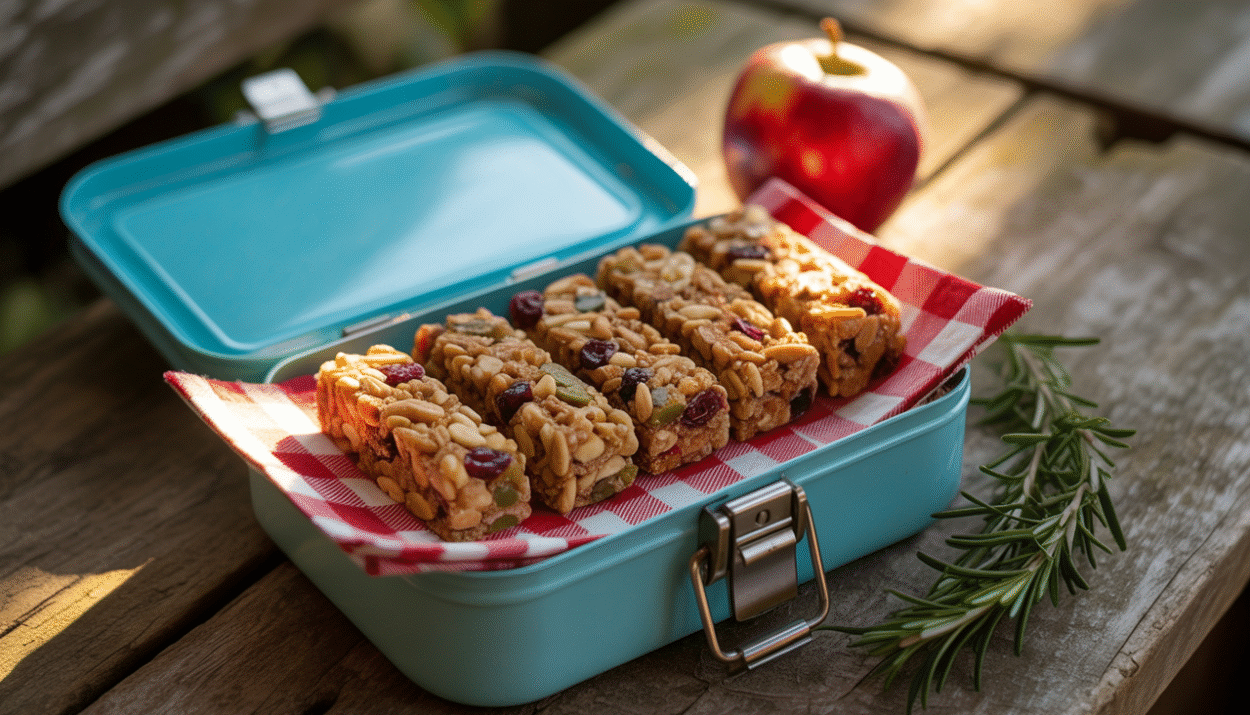
Healthy homemade trail mix granola bars are a delicious and nutritious way to fuel your day with wholesome ingredients you can trust. Whether you’re packing lunch boxes for your kids, looking for a convenient snack on the go, or simply craving a tasty treat, making these bars at home lets you customize flavors, control sugar levels, and avoid preservatives commonly found in store-bought options. In this post, you’ll discover why homemade granola bars are a smart choice, how to make them step-by-step, tips for achieving the perfect chewy texture without baking, and tasty flavor variations like peanut butter chocolate that everyone will love.
Discover how to make healthy homemade trail mix granola bars with peanut butter, chocolate, and no-bake tips for a perfect chewy texture.
In this article:
- Why Make Your Own Healthy Trail Mix Granola Bars?
- How to Make Trail Mix Granola Bars: Step-by-Step Instructions
- No-Bake and Chewy: Tips for Perfect Texture
- Flavor Variations: Peanut Butter, Chocolate, and More
WHY MAKE YOUR OWN HEALTHY TRAIL MIX GRANOLA BARS?
Making your own healthy homemade trail mix granola bars is one of the best ways to ensure you’re fueling your body with wholesome, natural ingredients. Store-bought bars can be loaded with added sugars, preservatives, and artificial flavors that do little to support your health. When you make your own, you control exactly what goes in, from nutrient-rich nuts and seeds to natural sweeteners like honey or maple syrup.
These bars are perfect for anyone looking to maintain balanced energy throughout the day, whether packed in lunch boxes for kids or as a quick snack for adults on the go. Homemade bars are not only fresher and tastier, but also more economical and customizable. You can tweak textures and flavors to suit your preferences and dietary needs, making them a versatile snack you’ll want to keep on hand all the time.
HOW TO MAKE TRAIL MIX GRANOLA BARS: STEP-BY-STEP INSTRUCTIONS
Making your own healthy homemade trail mix granola bars is easier than you might think! Here’s a detailed guide with ingredients and clear steps to help you create delicious, nutritious bars at home:
Ingredients:
- Rolled oats (1 ½ cups) — the hearty base that’s rich in fiber and gives structure
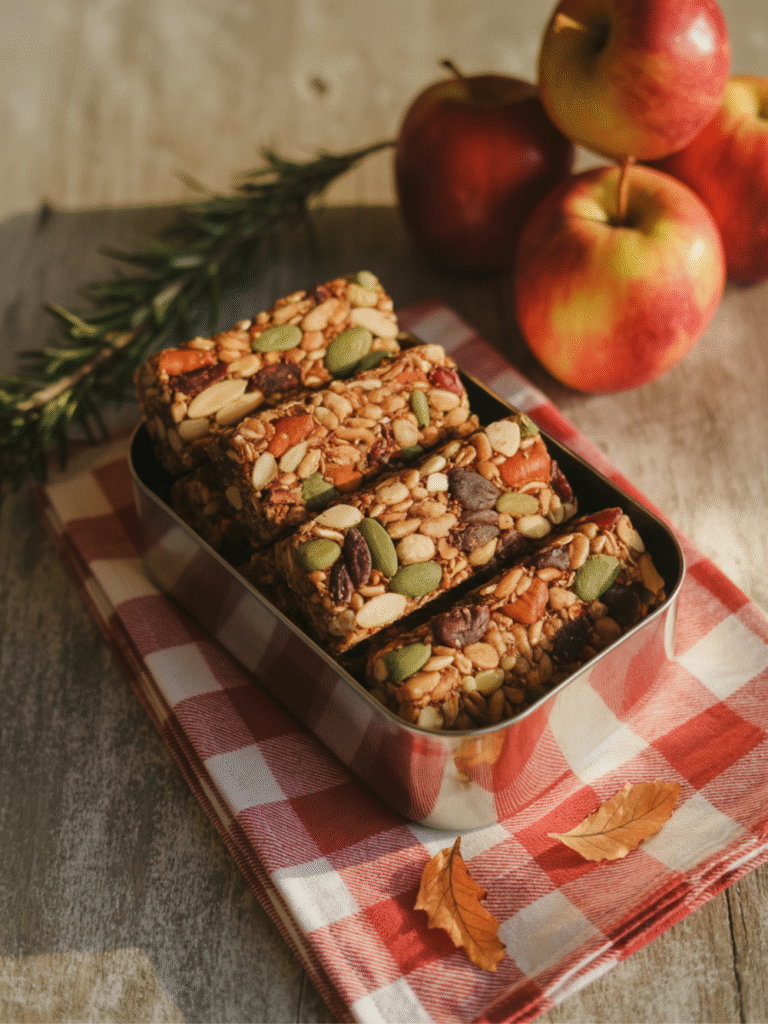
- Mixed nuts and seeds (1 cup) — such as almonds, walnuts, pumpkin seeds, and sunflower seeds, for crunch and protein
- Dried fruit (½ cup) — cranberries, raisins, chopped dates, or apricots to add natural sweetness and chewiness
- Nut butter (½ cup) — peanut butter or almond butter for richness and binding
- Natural sweetener (⅓ cup) — honey, maple syrup, or agave syrup to hold everything together and provide subtle sweetness
- Optional add-ins — mini chocolate chips, shredded coconut, chia seeds, flaxseeds, or cinnamon for extra nutrition and flavor
- Vanilla extract (1 tsp) and a pinch of salt to enhance flavor
Instructions:
- Prep ingredients: Chop large nuts or dried fruits into bite-size pieces for an even mix. Measure out all ingredients.
- Mix dry ingredients: In a large bowl, combine rolled oats, nuts, seeds, dried fruit, and any optional add-ins.
- Warm wet ingredients: Gently heat the nut butter and sweetener until smooth and pourable. Stir in vanilla and salt.
- Combine: Pour wet mixture over dry ingredients and stir thoroughly to coat everything evenly.
- Press into pan: Line a square baking dish with parchment paper. Transfer the mixture and press firmly to compact.
- Set or bake: For no-bake bars, refrigerate 2+ hours until firm. For baked bars, bake at 325°F (160°C) for 15-20 minutes until edges turn golden. Cool completely.
- Cut & store: Lift the slab, cut into bars, and store airtight at room temperature or in the fridge.
This method guarantees chewy, nutrient-packed bars that are ideal for lunch boxes or anytime you need a quick, healthy snack.
NO-BAKE AND CHEWY: TIPS FOR PERFECT TEXTURE
If you’re looking for convenience, no-bake trail mix granola bars are a fantastic option. The key to achieving that perfect chewy texture lies in balancing sticky ingredients like nut butter and honey with dry ingredients that have enough bulk to hold together.
Here are some tips to get it right:
- Use natural nut butters with smooth consistency to help bind the bars without being oily or grainy.
- Don’t skimp on sweeteners – honey or maple syrup acts as a natural “glue” to hold the mixture.
- Press the mixture very firmly into your pan to avoid crumbly bars.
- Chill long enough (at least 2 hours) to let the bars set fully before slicing.
- Adding chewy ingredients like chopped dates or shredded coconut boosts the moist, chewy mouthfeel.
- For extra flavor and nutrition, sprinkle in flaxseeds or chia seeds, which also add texture.
No-bake bars save time, avoid heating your kitchen, and are perfect for warm weather or quick prep when you’re busy.
FLAVOR VARIATIONS: PEANUT BUTTER, CHOCOLATE, AND MORE

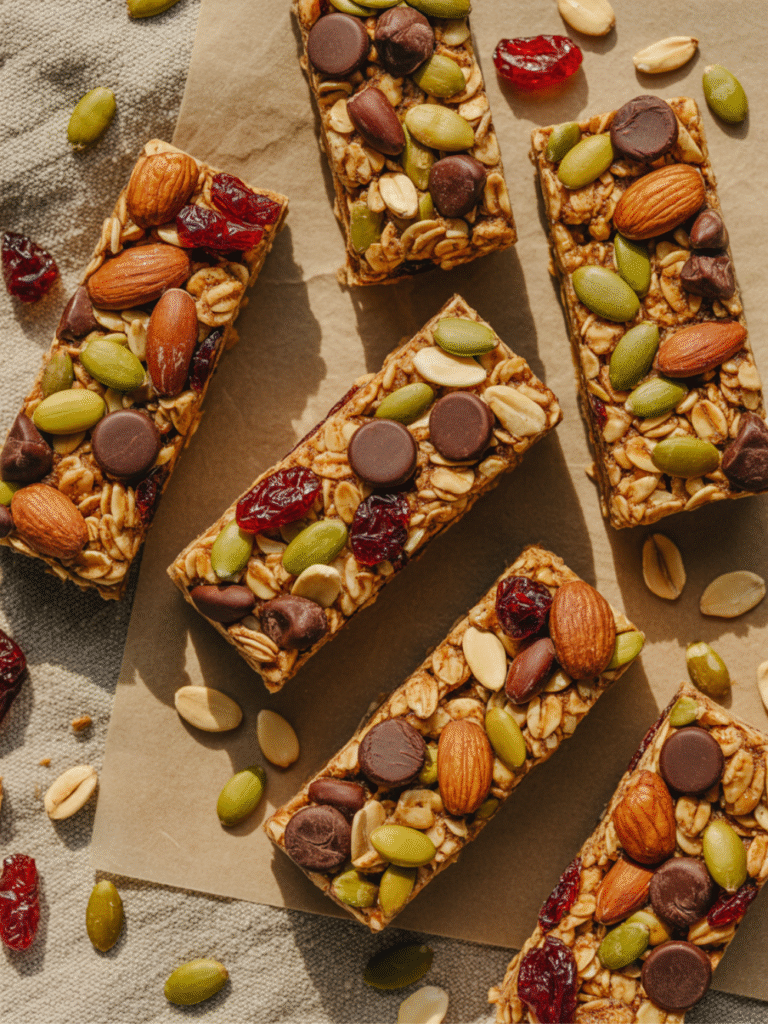
One of the best parts of making homemade trail mix granola bars is how easy it is to switch up the flavors to keep things interesting. A crowd favorite is the classic peanut butter chocolate trail mix granola bars, which perfectly combine the richness of peanut butter with sweet bursts of chocolate.
Try these ideas to customize your bars:
- Peanut Butter Chocolate: Add mini chocolate chips or a swirl of melted chocolate on top before chilling.
- Tropical Twist: Mix in shredded coconut and dried pineapple chunks for a sunny flavor.
- Spiced Delight: Add cinnamon, nutmeg, or pumpkin pie spice for cozy warmth.
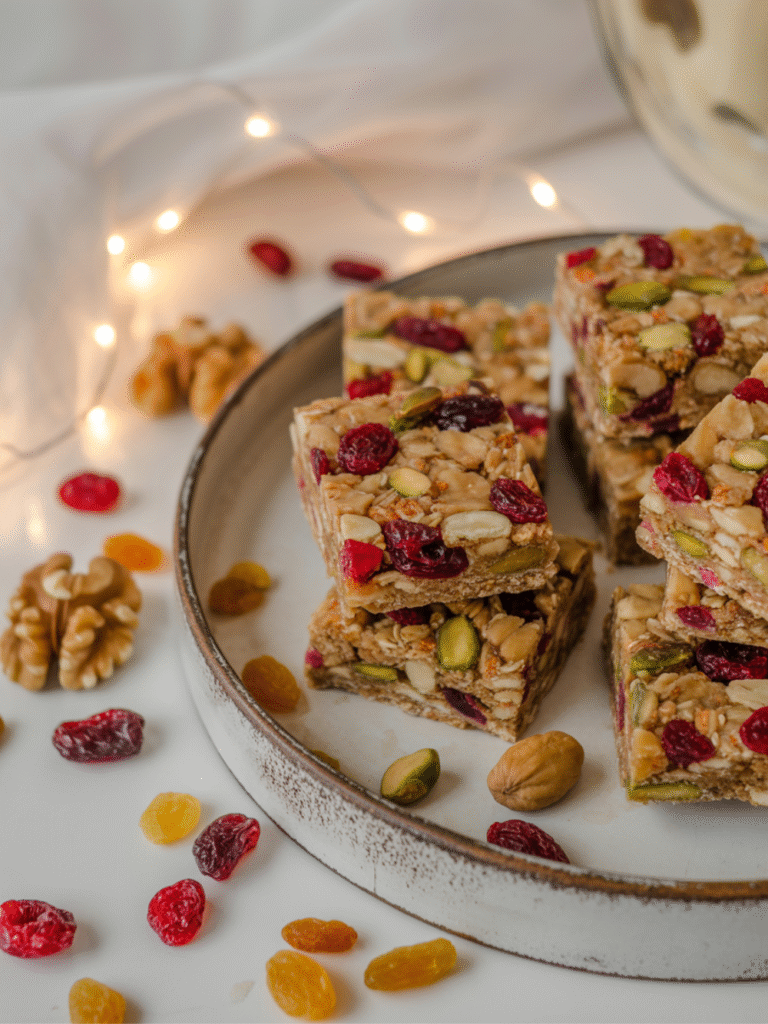
- Berry Blast: Use dried cranberries, blueberries, or cherries for tart bursts of fruitiness.
- Nut-Free: Swap nut butters with sunflower seed butter and use seeds instead of nuts for allergy-friendly bars.
Feel free to experiment! Homemade bars are flexible, so create your own signature version that fits your taste and lifestyle perfectly.
_____
Healthy homemade trail mix granola bars offer a perfect blend of convenience, nutrition, and flavor that makes them an ideal snack or lunch box addition for all ages. By preparing your own bars, you gain full control over ingredients, ensuring a wholesome and satisfying treat free from unnecessary additives. With simple steps, no-bake options, and endless flavor possibilities, these bars can easily become a staple in your healthy eating routine. Give this recipe a try and enjoy the benefits of a homemade snack that’s as delicious as it is nourishing!
This post may contain affiliate links. You can read the affiliate disclosure here.